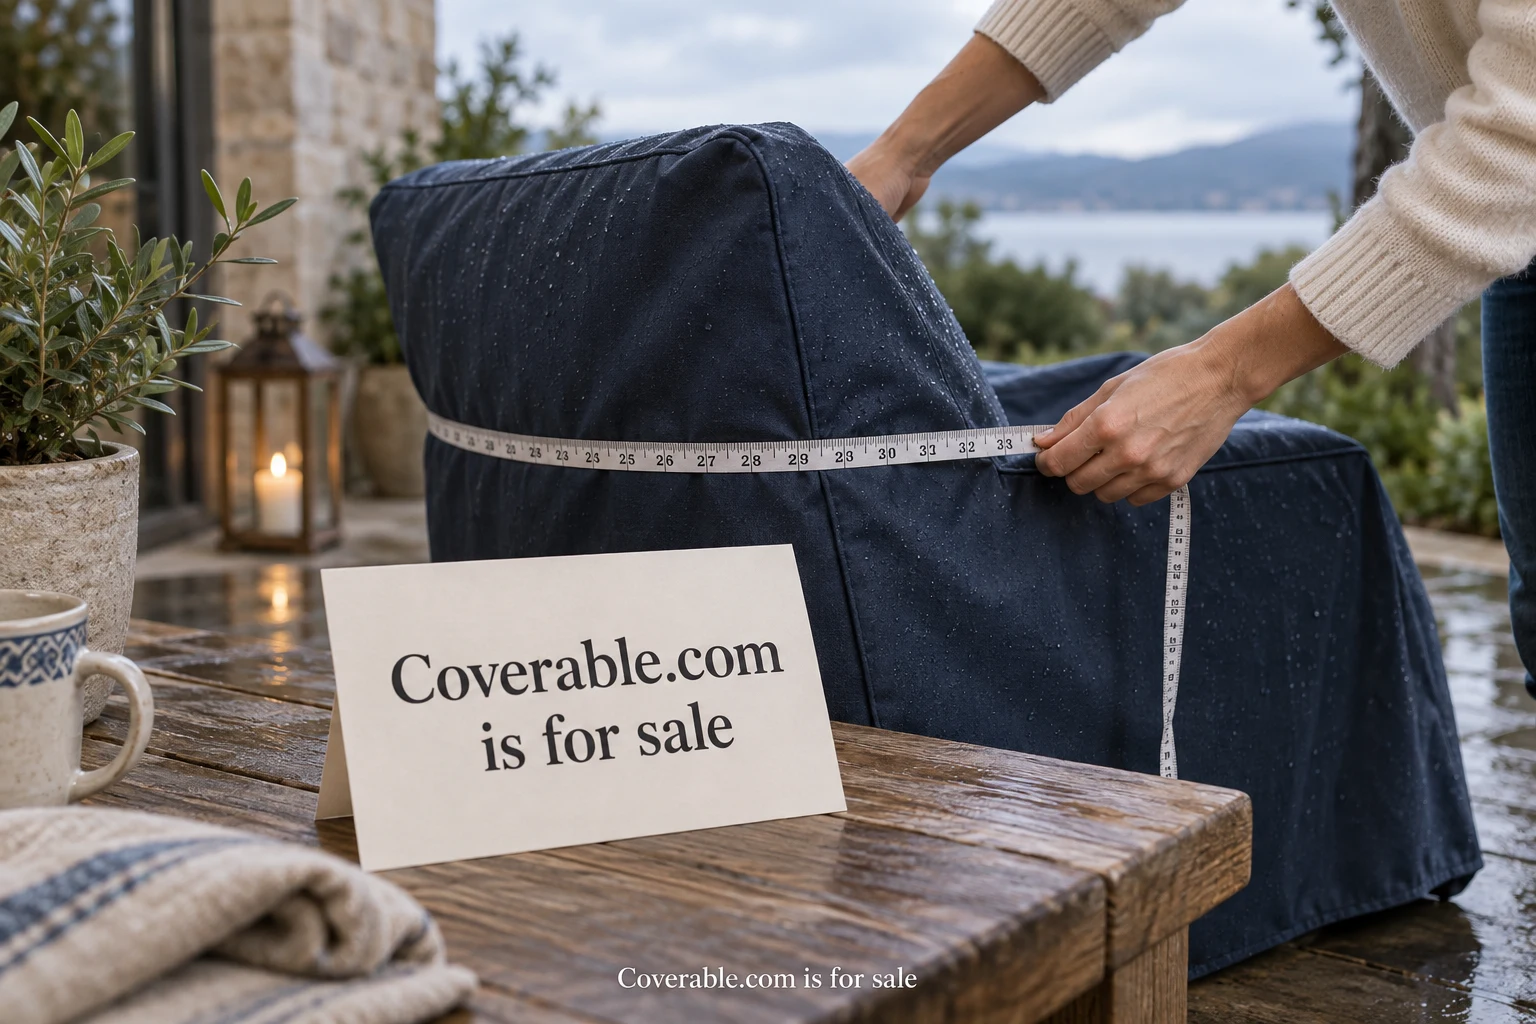
A customer has a tape measure, an object, and a product page. A useful fit guide connects those three things without requiring the customer to guess what the retailer meant. It shows the right measurement points, explains which dimensions belong to the object and which belong to the cover, and gives an honest route for cases that do not match the diagram.
The guide is part of the product experience. If a customer follows it carefully and still chooses the wrong variant, the business needs to investigate the guide as well as the order. Better photography and clearer labels may solve more than another size in the range. Start by watching a few people use the current instructions before deciding which part needs to change.
Define the shape before the dimensions
Choose a representative object for each guide. A rectangular table, a chair with a sloping back, and a grill with side shelves need different diagrams. Do not squeeze them into the same generic box drawing. The customer should recognize the shape of the thing they own before reading the instructions. If the product supports several configurations, show the configuration that should be measured.
The Covers & All custom measurement guide is a manufacturer example of category-specific diagrams. Its grill drawing, for instance, distinguishes several widths and a depth that includes the handle. Use examples like this to identify the questions a guide must answer, then verify the measurement method against your own product design and supplier specifications.
Photograph the object in the position in which it will be covered. If arms fold, shelves move, or cushions are removed, explain the intended setup. A customer should not reach the final instruction and discover that every earlier measurement assumed a different arrangement. Put the setup note before the numbered steps.
Show the tape on the object
A clean diagram is useful, but a photograph of the tape measure can resolve uncertainty about exactly where a measurement begins and ends. Use a camera angle that shows the contact points. Keep the tape straight and the numbers readable. Avoid a dramatic perspective that makes one end look much larger than the other.
For each dimension, pair a short instruction with a matching visual label. If the diagram uses numbers, the written steps should use the same numbers in the same order. Name the dimension consistently across the guide, product selector, and order confirmation. Switching from “depth” to “length” halfway through the journey creates an unnecessary translation task.
Show protrusions that matter: handles, wheels, armrests, control panels, or feet. Explain whether to include them according to the actual product instructions. Do not assume customers will know which detail is relevant. If an unusual projection makes the standard cover unsuitable, say how to ask for help rather than encouraging the customer to force it into the nearest size.
Explain allowance once, clearly
One of the most important distinctions is between object dimensions and finished cover dimensions. Decide which numbers the customer is being asked to provide. Then explain how the product's allowance is handled. A retailer should not ask customers to add extra space if its own process already includes that allowance. The appropriate amount depends on the product and should come from verified design information.
Use an illustrative worked example with invented measurements. A chair might have a measured width of 70 centimeters, depth of 75 centimeters, and height of 90 centimeters. The guide can demonstrate where those numbers go without claiming that a particular cover will fit. If you show a real product recommendation, confirm it against the actual size chart and explain any relevant limits.
Keep units visible beside each field and each table heading. If both inches and centimeters are supported, make the selected unit clear and check conversions carefully. A number without a unit is incomplete information. On mobile, do not let the unit disappear into a table column that the customer has to scroll sideways to find.
Design the size table for comparison
A size table should help the customer compare the relevant dimensions quickly. Put the dimension names in a stable order and use enough space between rows. Keep the product variant name attached to its values. A wide desktop chart may need a stacked mobile presentation so the customer can see a complete option at once.
Explain the boundary cases. What should a customer do if one dimension fits and another does not? What if the object falls exactly at a stated limit? The answer should be based on product knowledge. If the business cannot make a reliable recommendation from the available measurements, offer a support route and specify the information needed to answer.
Distinguish a guide from a guarantee. A fit tool should not claim certainty when its inputs omit important shape details. Give the customer a way to review the selected variant and the measurements used before ordering. That review is especially valuable for custom products, where correcting a misunderstood dimension later may be difficult.
Include the experience after delivery
The guide should continue with putting the cover on, identifying its orientation, and using the fastening system. Show a close view of any label or closure that helps. If the cover is designed to leave clearance at the bottom, describe that according to the product specification so a customer does not mistake an intended feature for a sizing error.
Care information belongs nearby, but it should remain specific to the material and construction. Link to the applicable instructions and explain where to find them later. Avoid generic promises about all-weather performance unless the finished product has evidence to support them. A fabric specification alone may not describe seams, closures, and the way the cover is installed.
Written warranty language also deserves review. The FTC guide to federal warranty law explains the framework for consumer product warranties in the United States. Use it as a starting reference with appropriate advice for the actual offer, rather than copying another retailer's terms or assuming that the same wording fits every product.
Test the guide with a real task
Give a participant an object and the guide, then ask them to choose a size. Watch which measurements they take, where they pause, and whether they notice the setup instructions. Ask them to explain their choice in their own words. A successful test is a correct, understandable decision, not a participant saying that the page looks professional.
Keep a record of the guide version used in the test. When a customer reports a fit problem later, the team should be able to see which instructions were available at the time. Review support questions regularly for patterns. If people repeatedly ask the same question, move the answer into the relevant step instead of expanding a distant FAQ.
For a first improvement, choose one category and make its guide complete. Verify the dimensions with the supplier, create the missing photographs, and test the mobile experience. Once that guide works, use what you learned to develop the next category. The result should help a customer make a careful decision with the object in front of them and a minimum of guesswork.